Developing Film at Home
Coronavirus stops analogue play!
I had managed to get a couple of rolls of medium format film developed by the shop local to where I work but, shortly before lockdown, I went there and they advised against taking more film as they couldn’t be sure it would come back to me any time soon. I figured that being at home might be a good time to learn some new photographic skills and, in any case, developing film at home would save me money and time in the long run. So along came the next project.
Research
I had a vague idea about film development having done a course many years ago before digital photography really took off. So I got a book from Amazon called The Darkroom Handbook, which is a bit old but told me what I needed to know. Following this acquisition I then ordered various chemicals - these are, for some reason, much more available on eBay than on Amazon.
The Chemistry
For black and white photography you basically need four liquids:

Developer (this develops the image on the exposed film)
Stop bath (this stops the developer chemicals from working at the required time)
Fixer (this fixes the developed image and stops light fade)
Wetting agent (this helps to prevent streaks on the dried film - I wonder if you could use dishwasher rinse agent for this purpose if you didn’t want to fork out for wetting agent)
After acquiring these I found out that there are modern solutions that do all of these at once bar the wetting agent bit. But heyho, might as well do it the more complicated way…
I was a bit bewildered by which chemistry to buy, especially for the development part of the process. There are loads of different chemistry types depending on the manufacturer and ASA of the film, the film type etc. After reading the descriptions of the ones available I went for Ilford DDX, which seemed to have the best features overall for the speed of film I generally have (which tends to the higher speed, grainier end).
Hardware
Now obviously with all of these chemicals to play with, I was going to need some other equipment as well.
Three measuring cylinders (or “graduates”) - up to 600ml volume is useful
Clips to hang my drying film from, and to weight it at the other end to stop curling
A thermometer to test the temperature of the chemicals
That’s it.
Oh, apart from the actual apparatus to develop the damn film in.
The Daylight Loading Tank
I haven’t got the wherewithal or the desire to create a darkroom in my house at this stage. We haven’t even finished decorating the house extension so a darkroom feels like a low priority. In addition, despite the analogue beginnings, the majority of my photographic uses are digital and I don’t want to spend money on enlargers and that kind of paraphernalia. What I really wanted was a daylight loading tank so I could develop my film without the need for fiddling in the dark.

Loading medium format film into the Lab Box
You can buy quite cheap daylight loading tanks for 35mm film but I decided to splurge on a piece of equipment that would also do 120mm film. The Bum Chum was duly purchased! Its real name is The Lab Box by Ars-Imago and is a splendidly expensive piece of crowd-funded plastic that allows you to load film of both 35mm and 120mm varieties without them seeing the light of day. You pour and drain the chemicals through the top and it is a very compact unit that doesn’t take a whole heap of space in the cupboard when it’s not being used.
First Attempt
So last night I attempted my first roll of film. I used a roll of exposed Svema 32 film, which is very very expired having seen its best before 1994. The upside to this approach is that it doesn’t really matter if I ruin the film; the downside is that I can’t tell if I have ruined the film or if it has ruined itself by virtue of being old.

The Lab Box people have kindly included QR code video tutorials on their website, which made it relatively easy to follow the initial assembly steps for the box and to load the film. As you can see from the photo above, you feed the backing paper out of the box and pull it, while the film becomes enclosed in a light-proof chamber below. You then attach the film end to a secure clasp attached to a spool, which you wind into the developing chamber.
The chemistry was another matter. What the hell do you do with film that has no reference on the agent instructions and what is the best way to develop knackered old film?
The room temperature was around 22C so I guessed at 12 minutes of developer and 7 of stop bath. You basically just crank the handle to agitate the film in the liquid the whole time and, in true Blue Peter style, I had pre-prepared the liquids in advance in their respective measuring cylinders.
Unfortunately the results were rubbish! Looking at the processed film there was so much residue from delaminated film (if that’s the right term), and I hadn’t used the developer for long enough so the successful images were very faint.
Second and Third Attempts
Buoyed by my efforts in Round One, I set to developing two more films. One was another Svema 32 effort (so I didn’t hold out much hope for this) and another was a new roll of Foma Retropan 320 film.
The moral of this story is read the bloody instructions. These films I had to throw away because I inserted the canister the wrong way up, and when I pulled the backing paper it spooled the film in the wrong direction meaning that I had to open the box to extract it. Not once - but twice!!
Fourth and Fifth Attempts
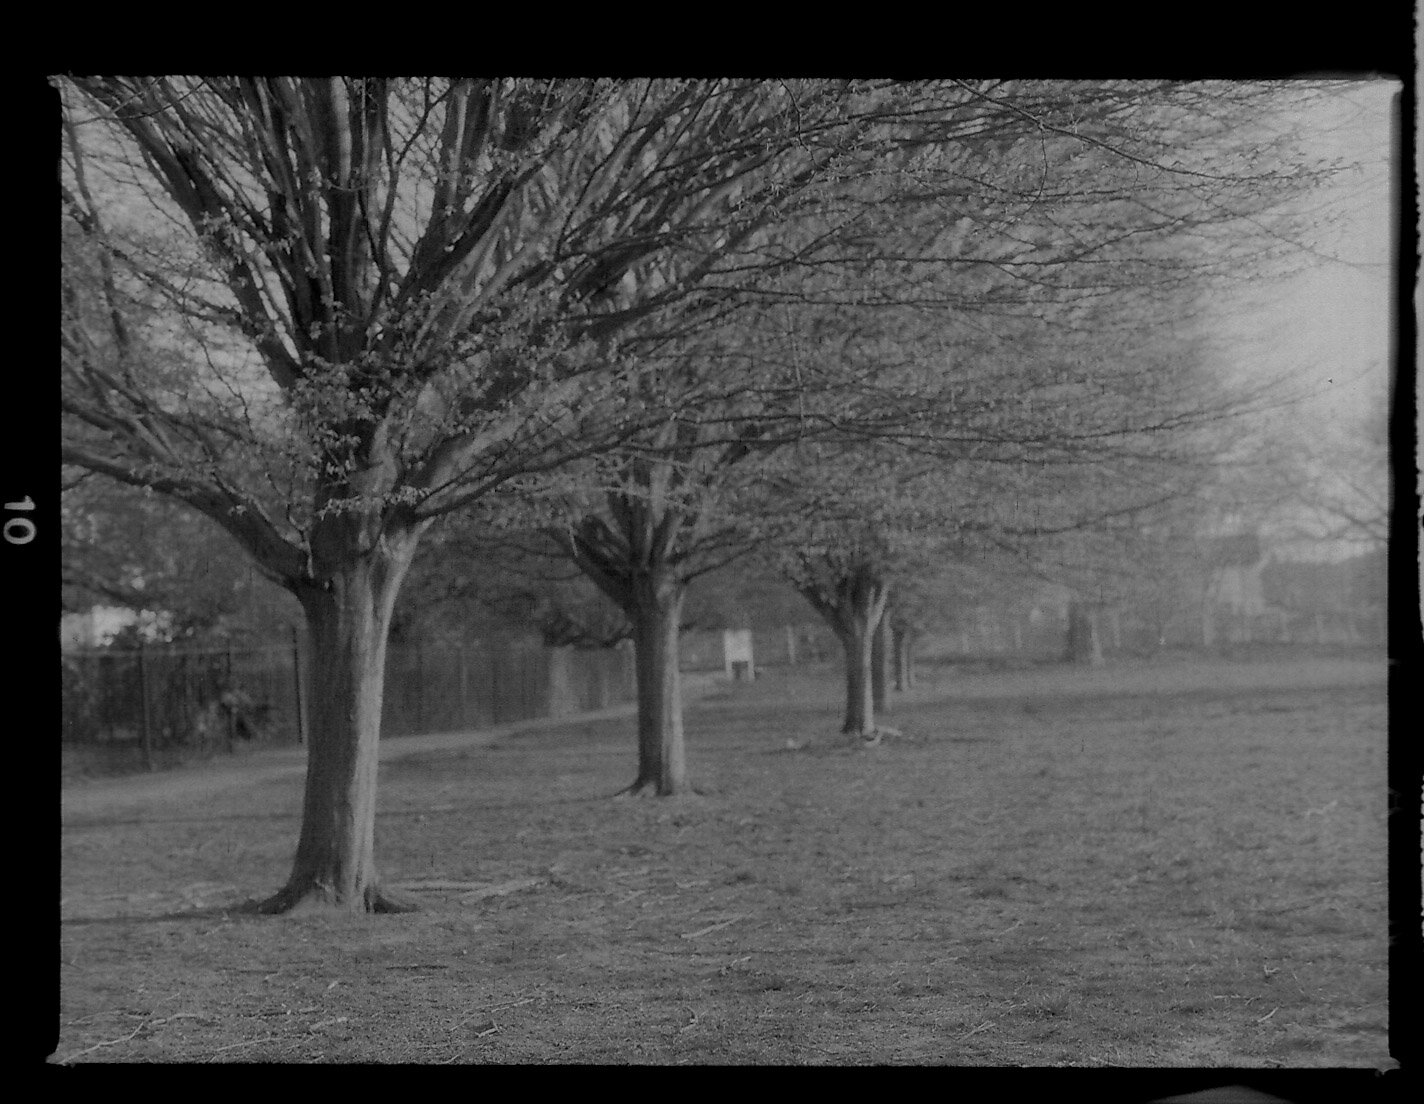
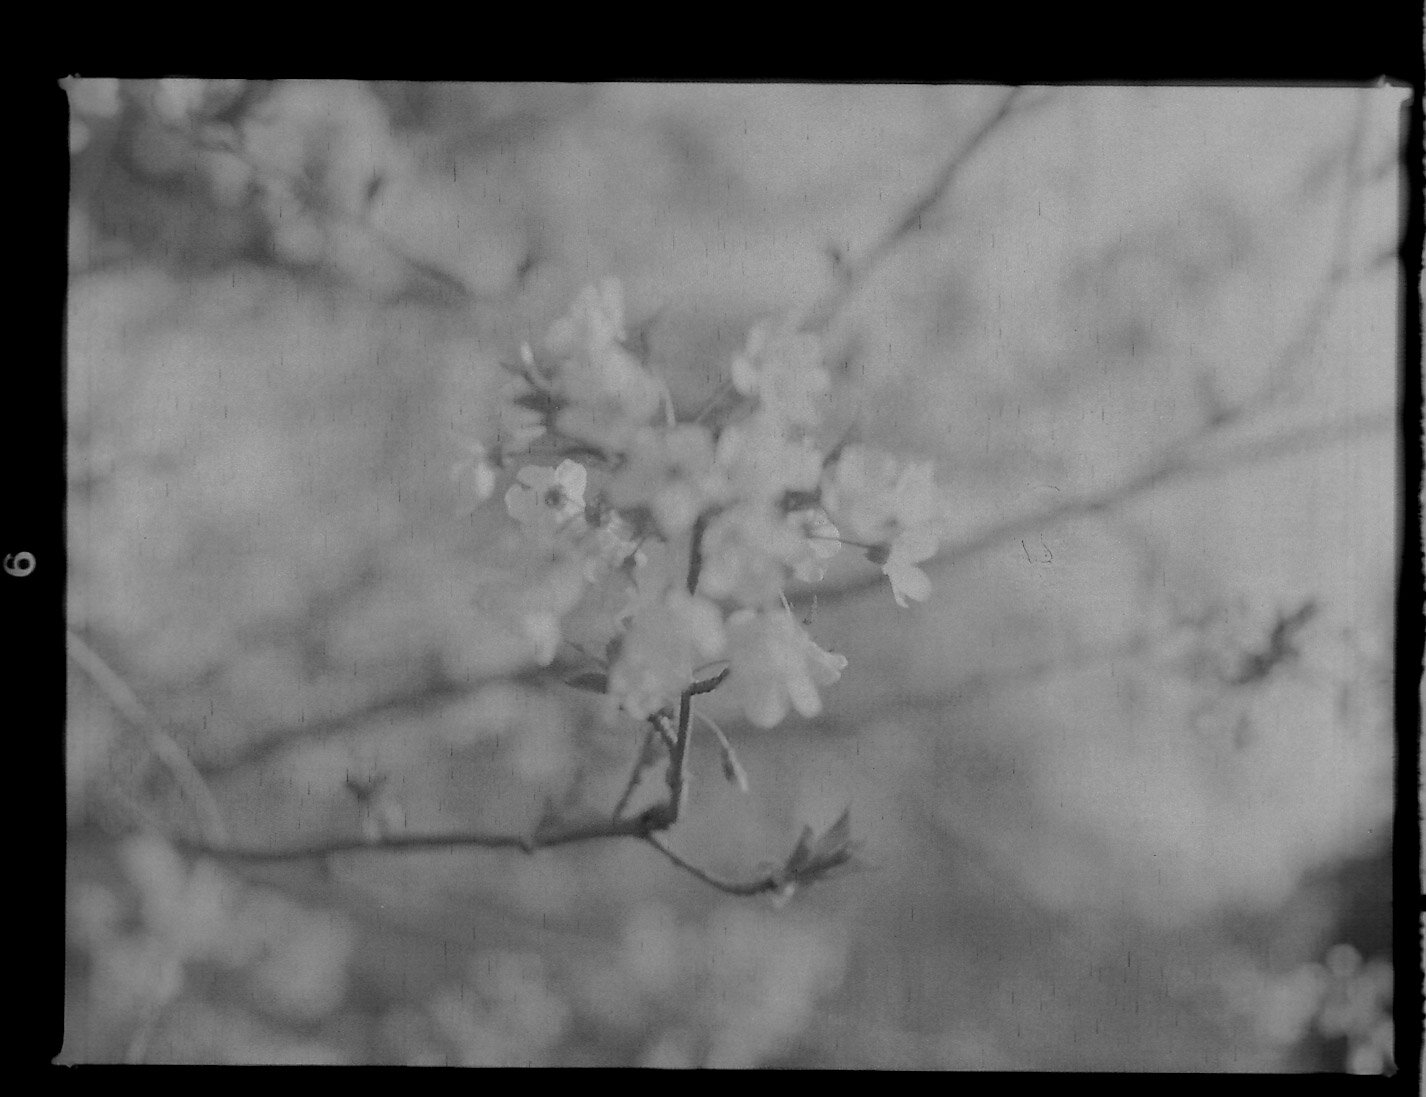
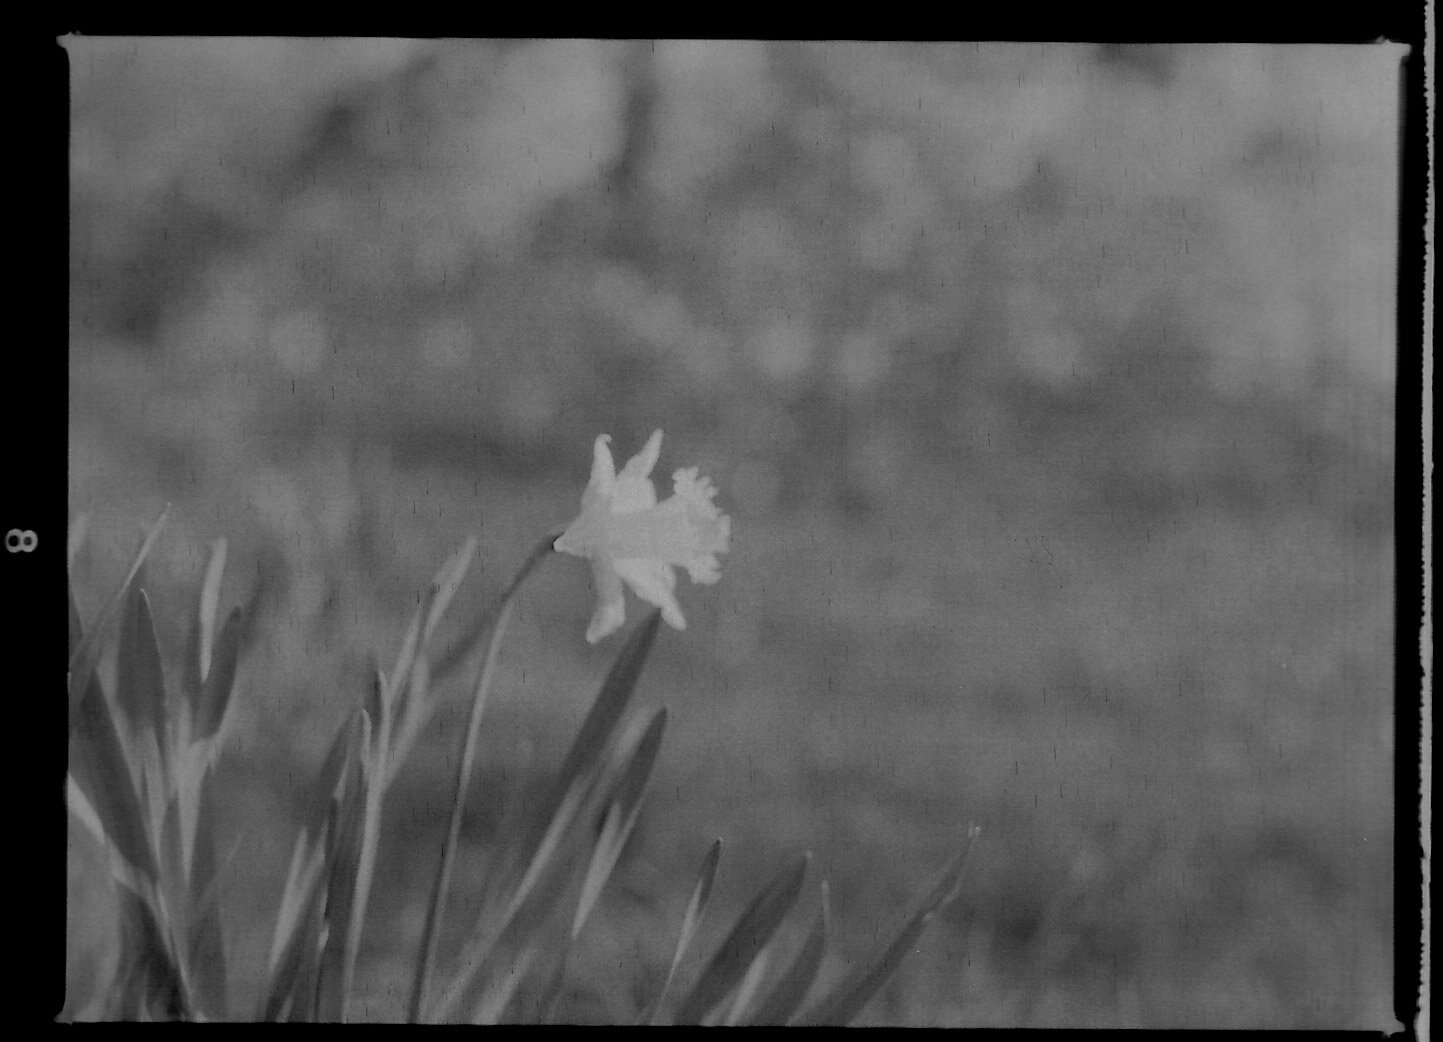
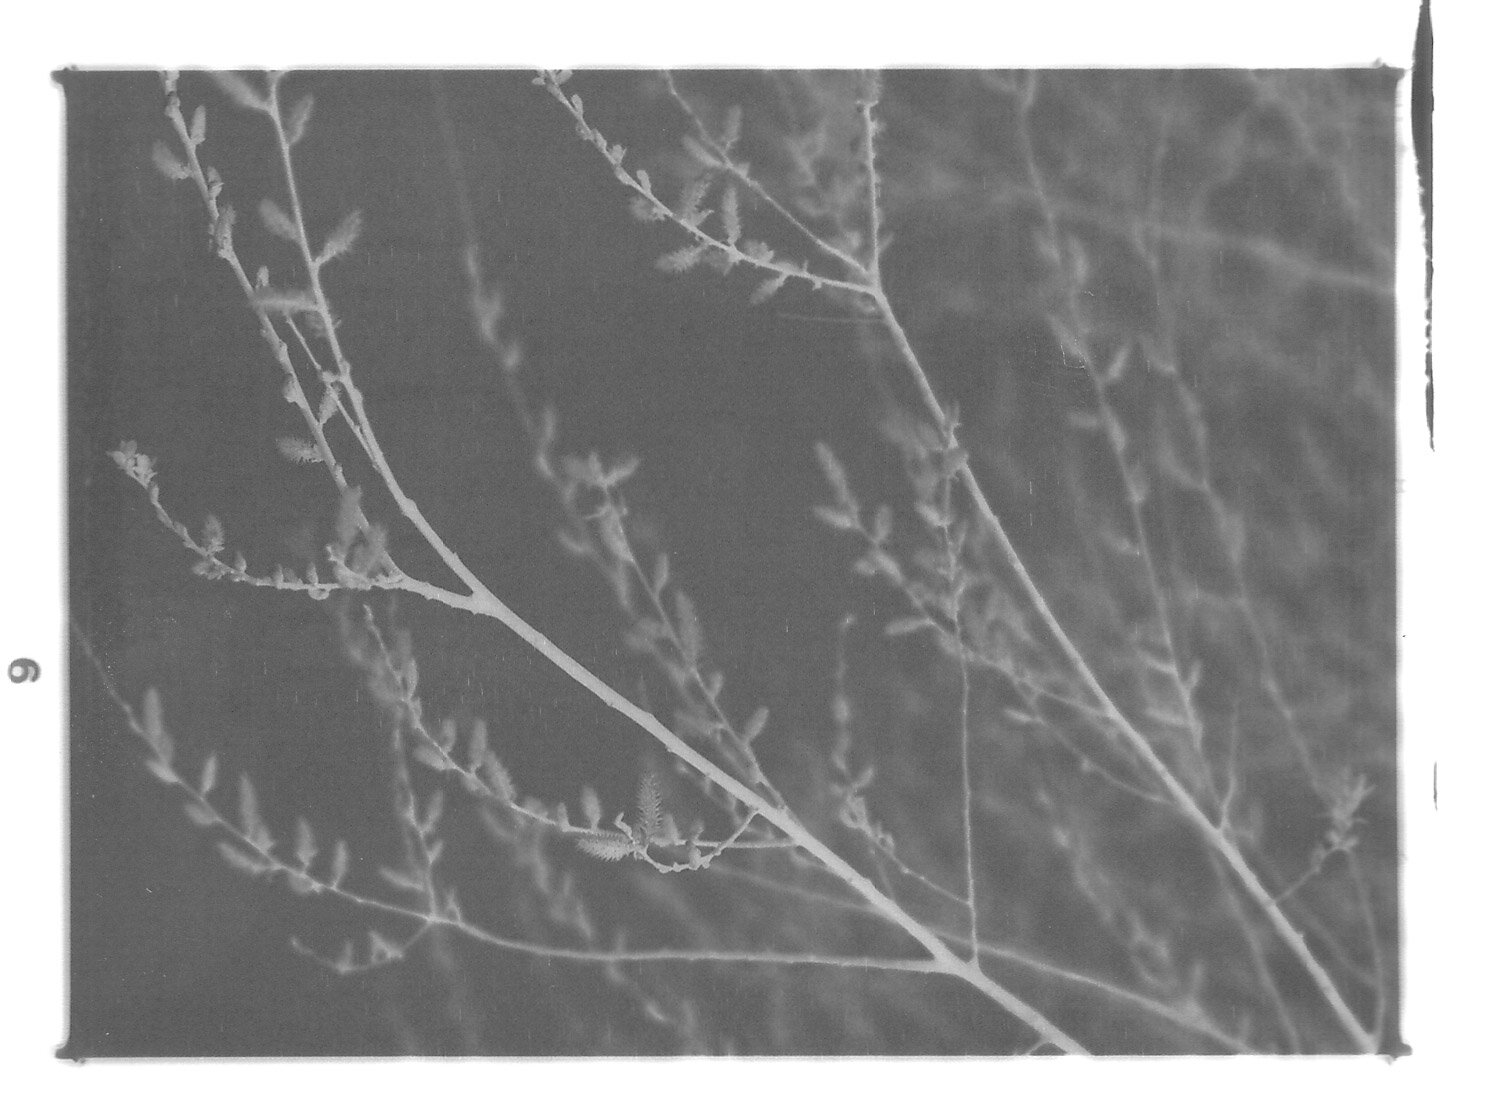
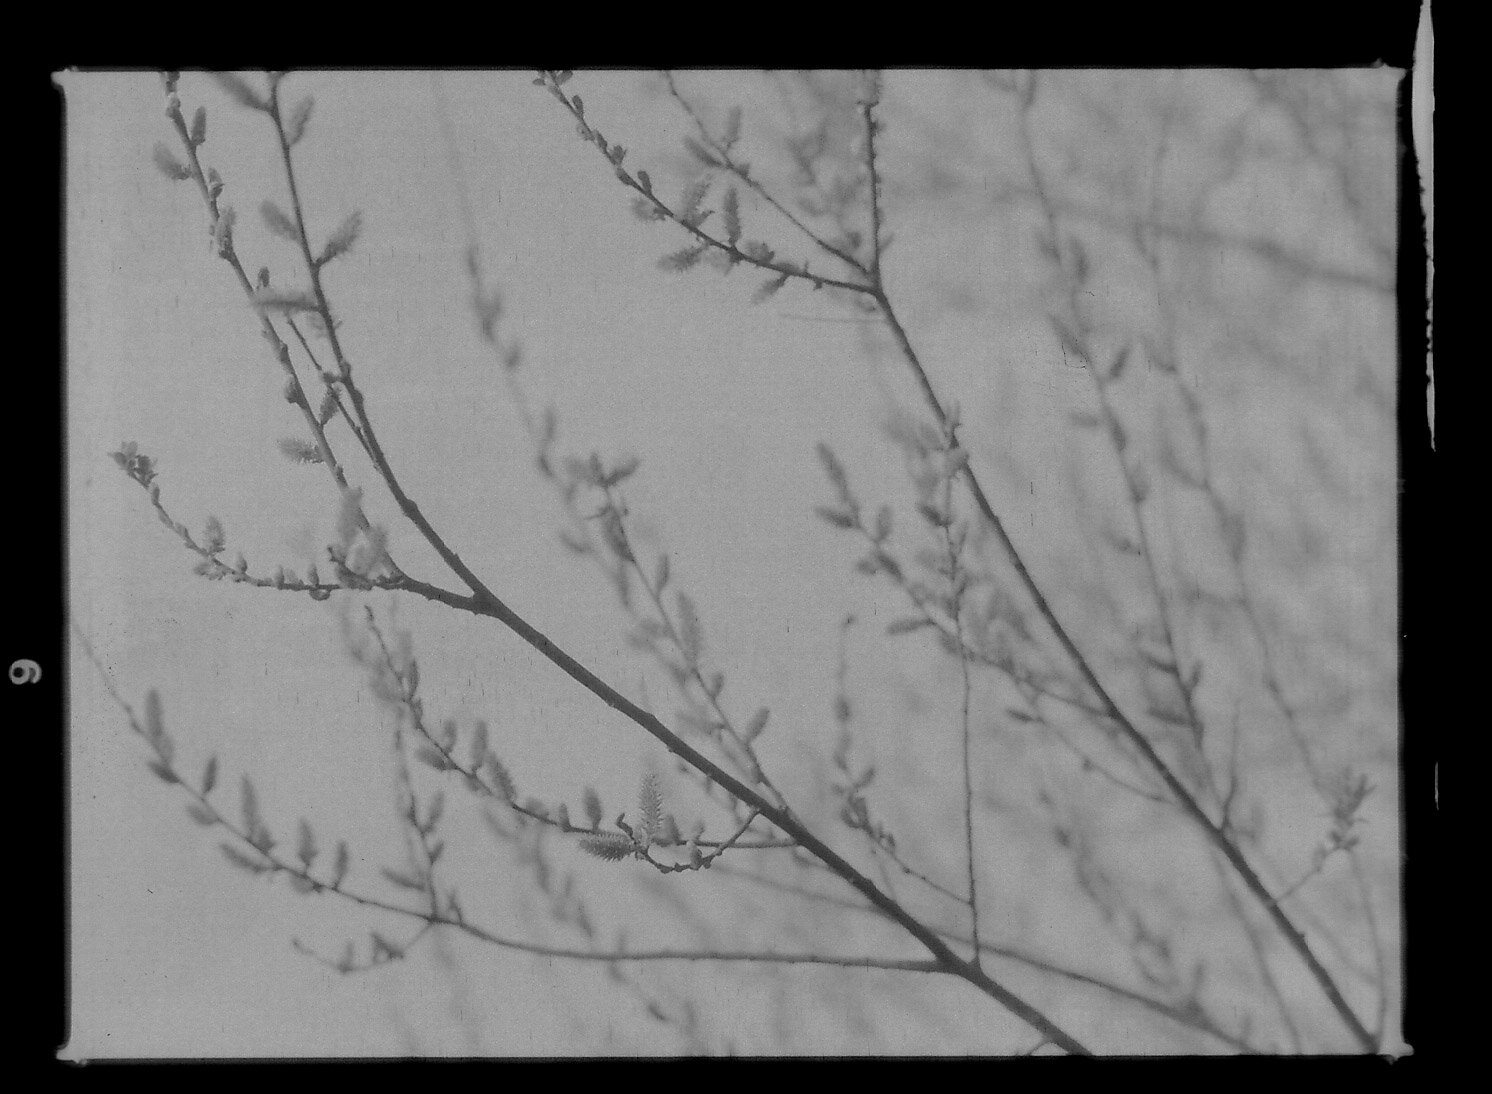
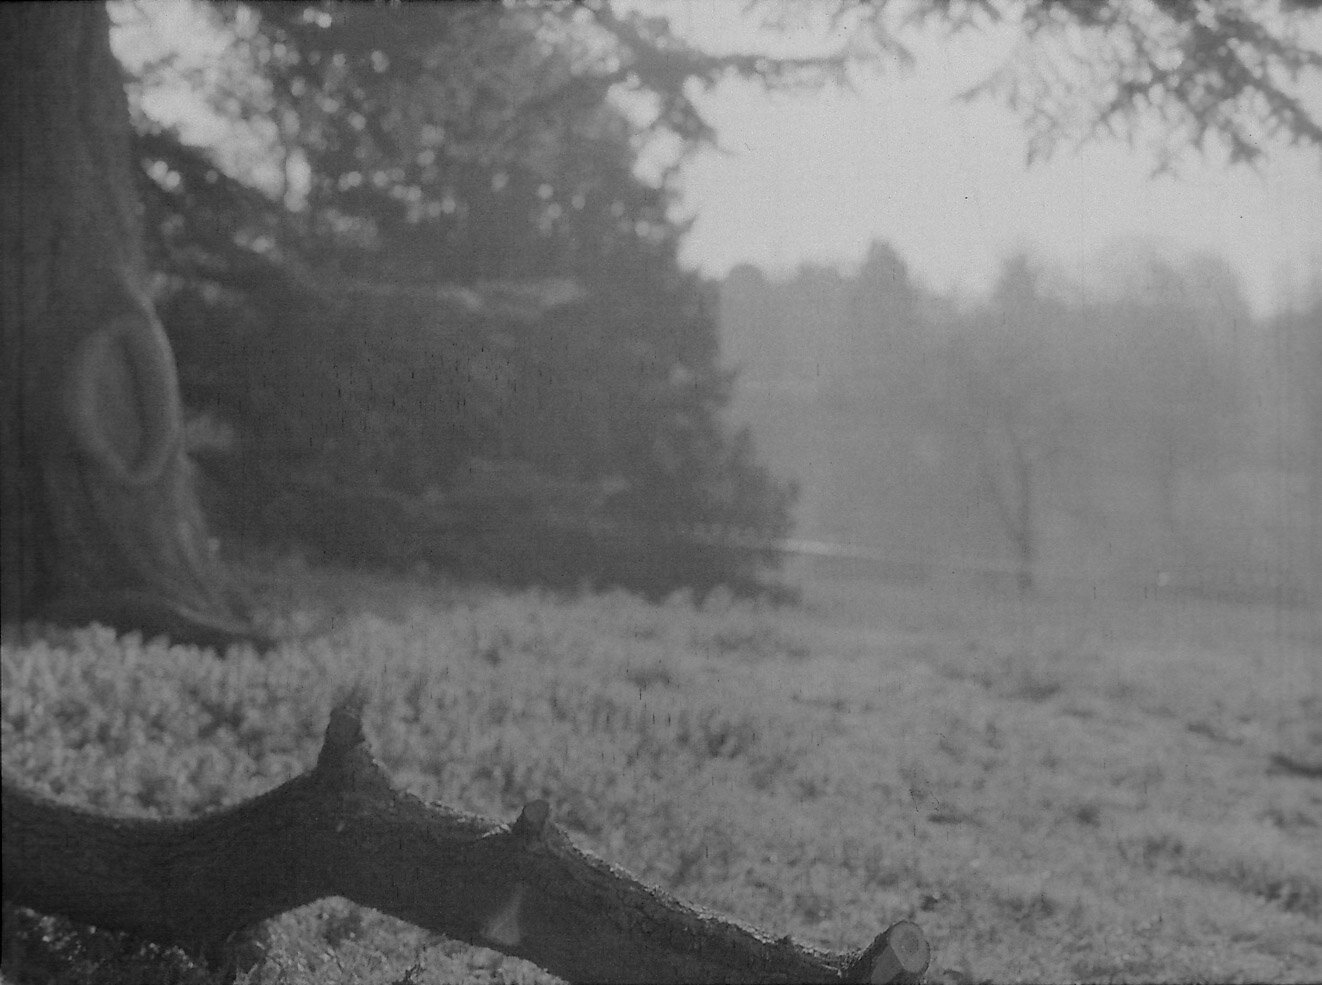
I took my daily allowed walk in the local park at 7am, duly avoiding neighbours and other interested parties, shooting a couple of rolls of film as I went. Again, to make trials consultant I used Foma Retropan 320.
Following the same instructions as the night before I developed these films and was pleased to see that they came out. I extended the development time a bit for each film successively, as the effectiveness of the developing agent wears off a bit each time.
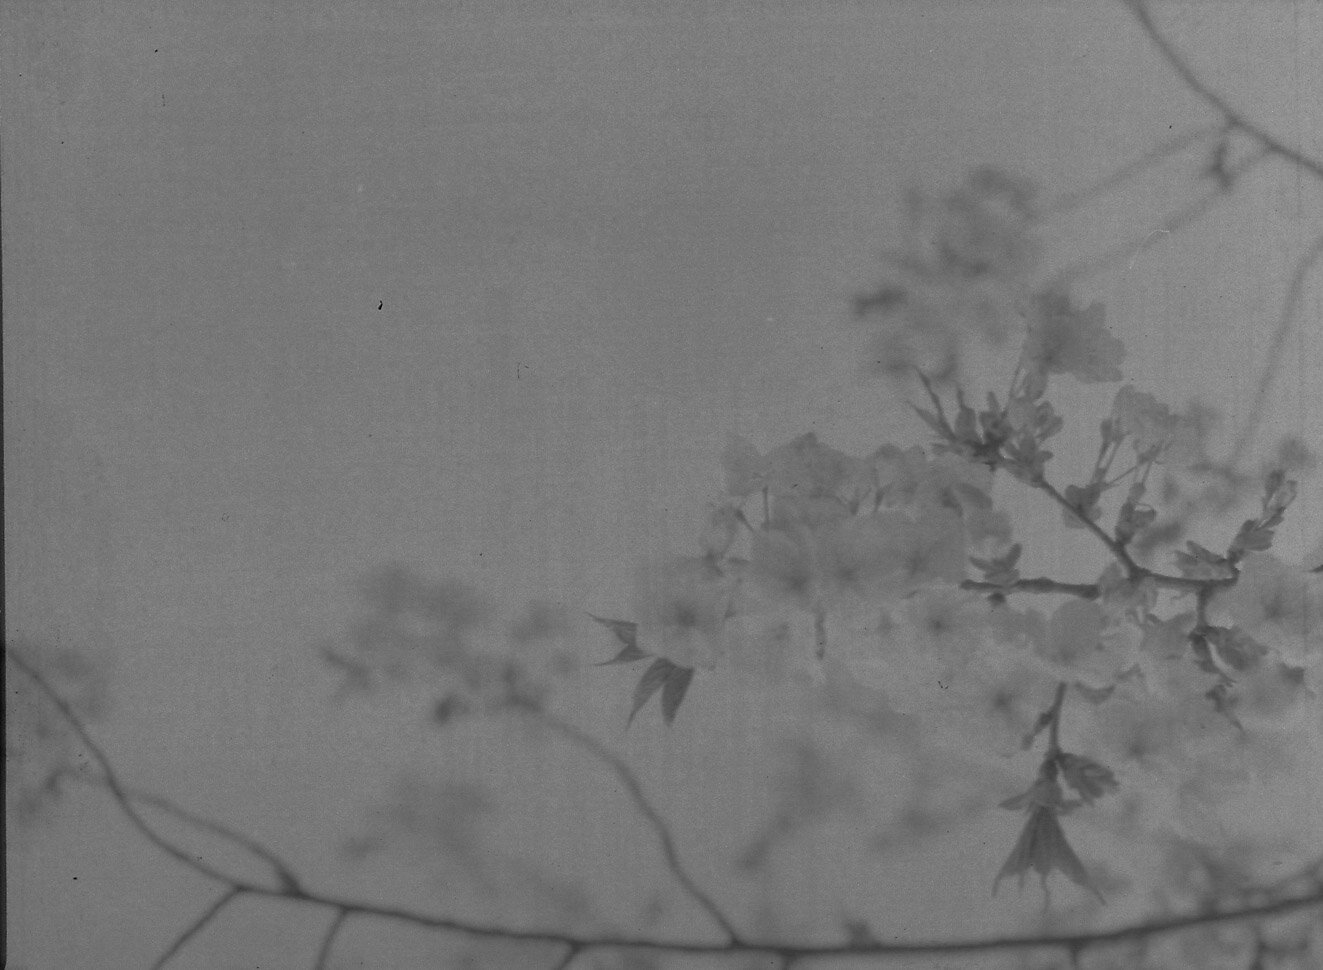
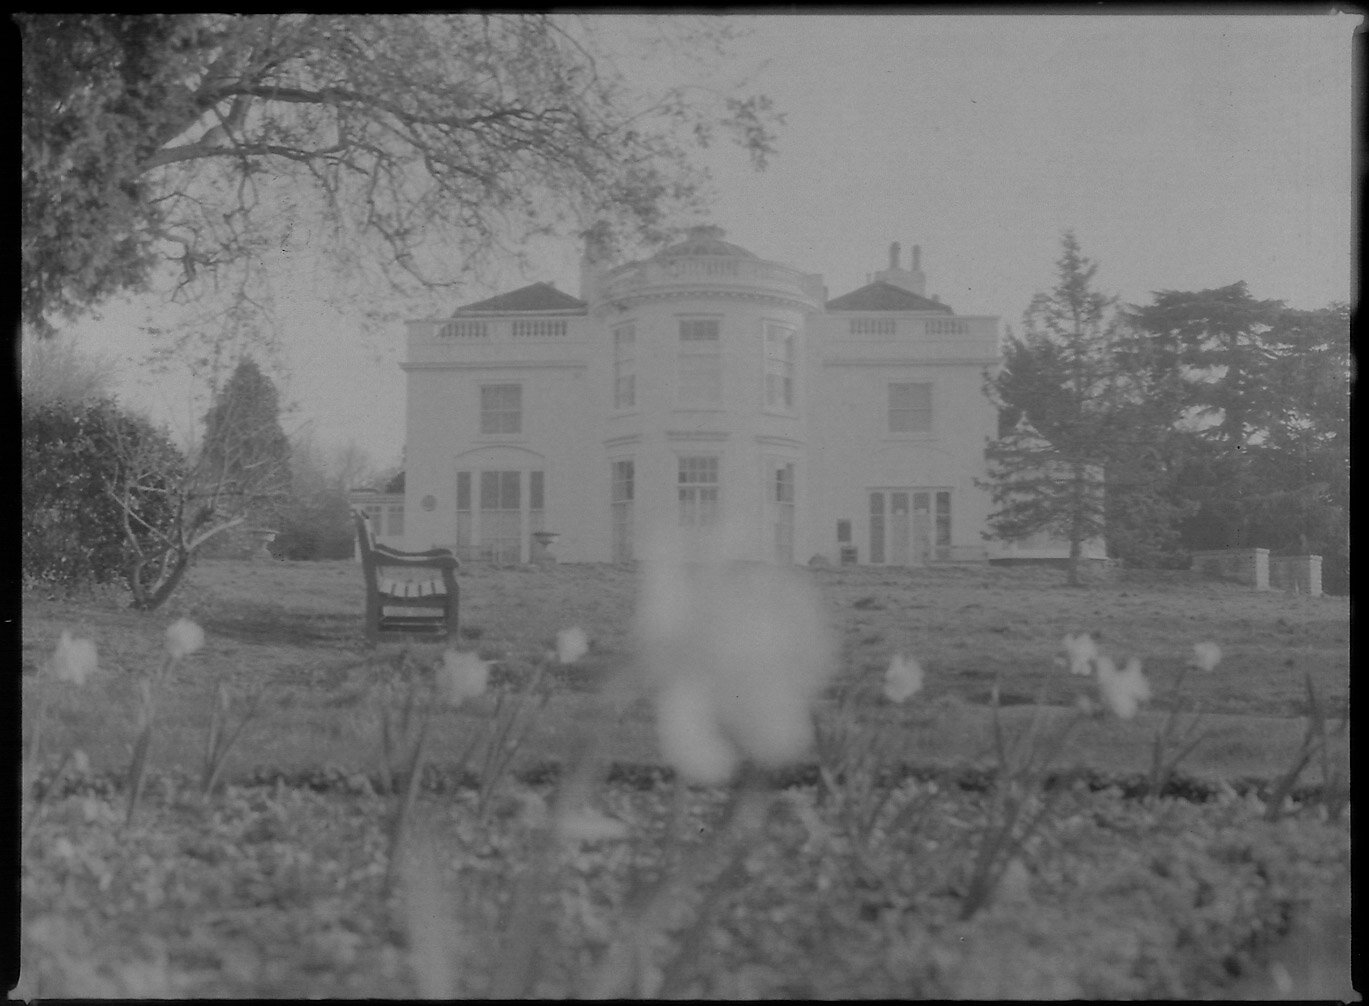
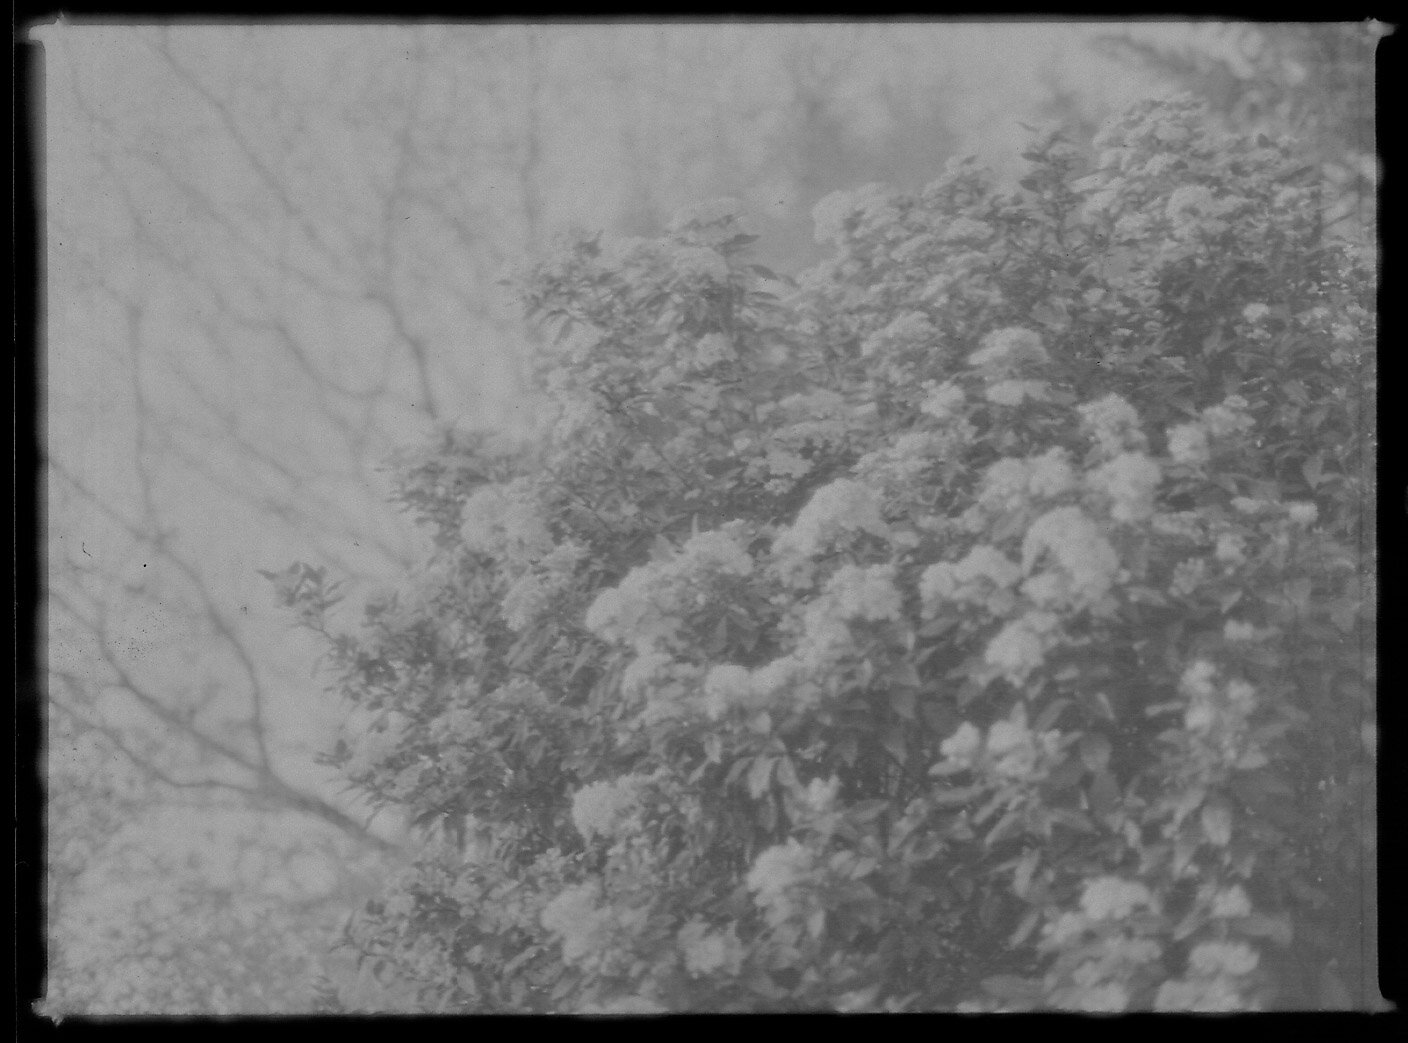
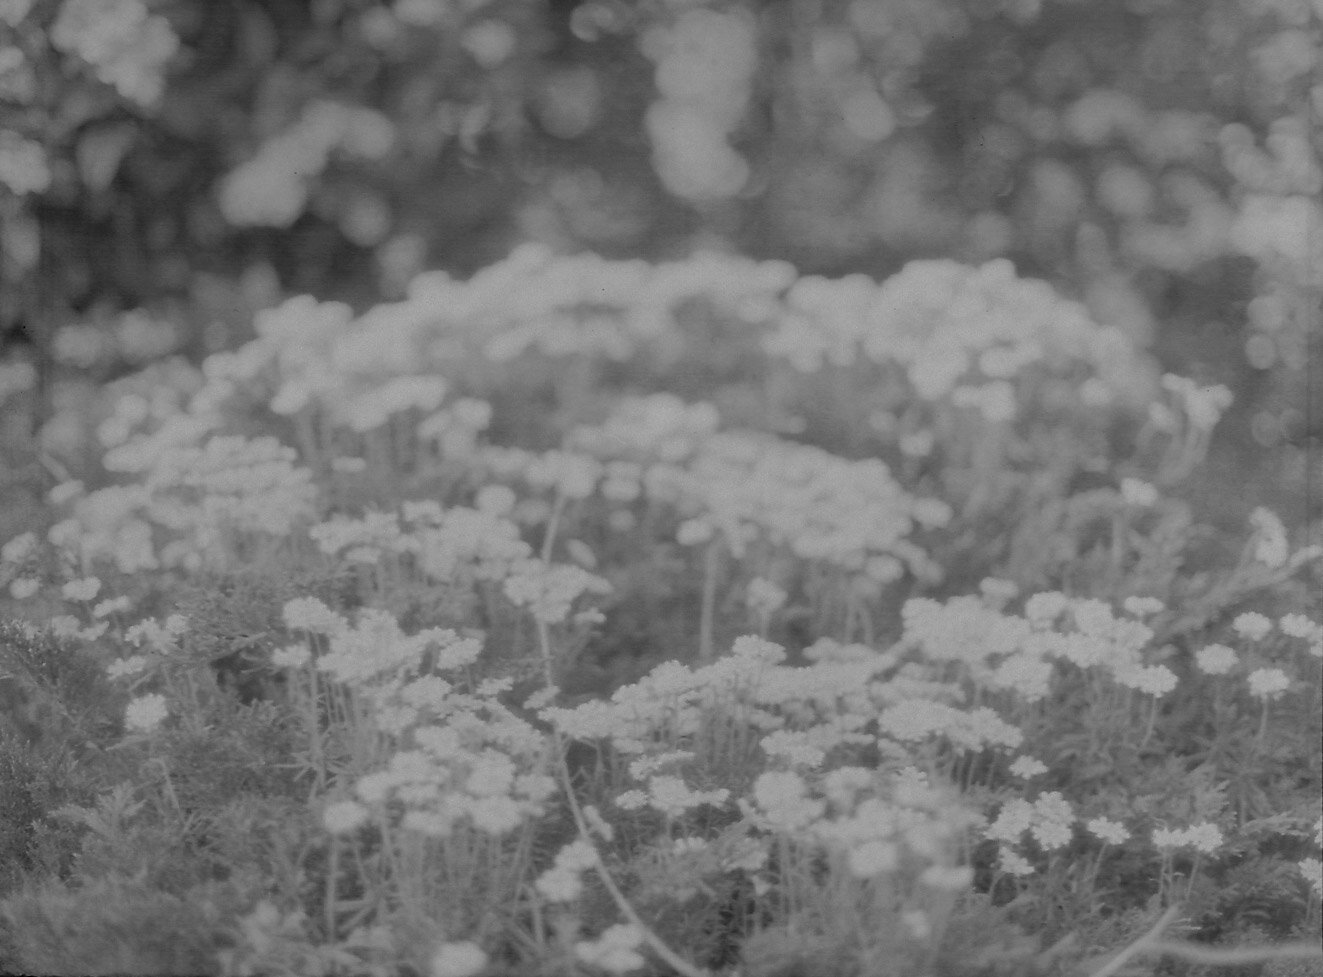
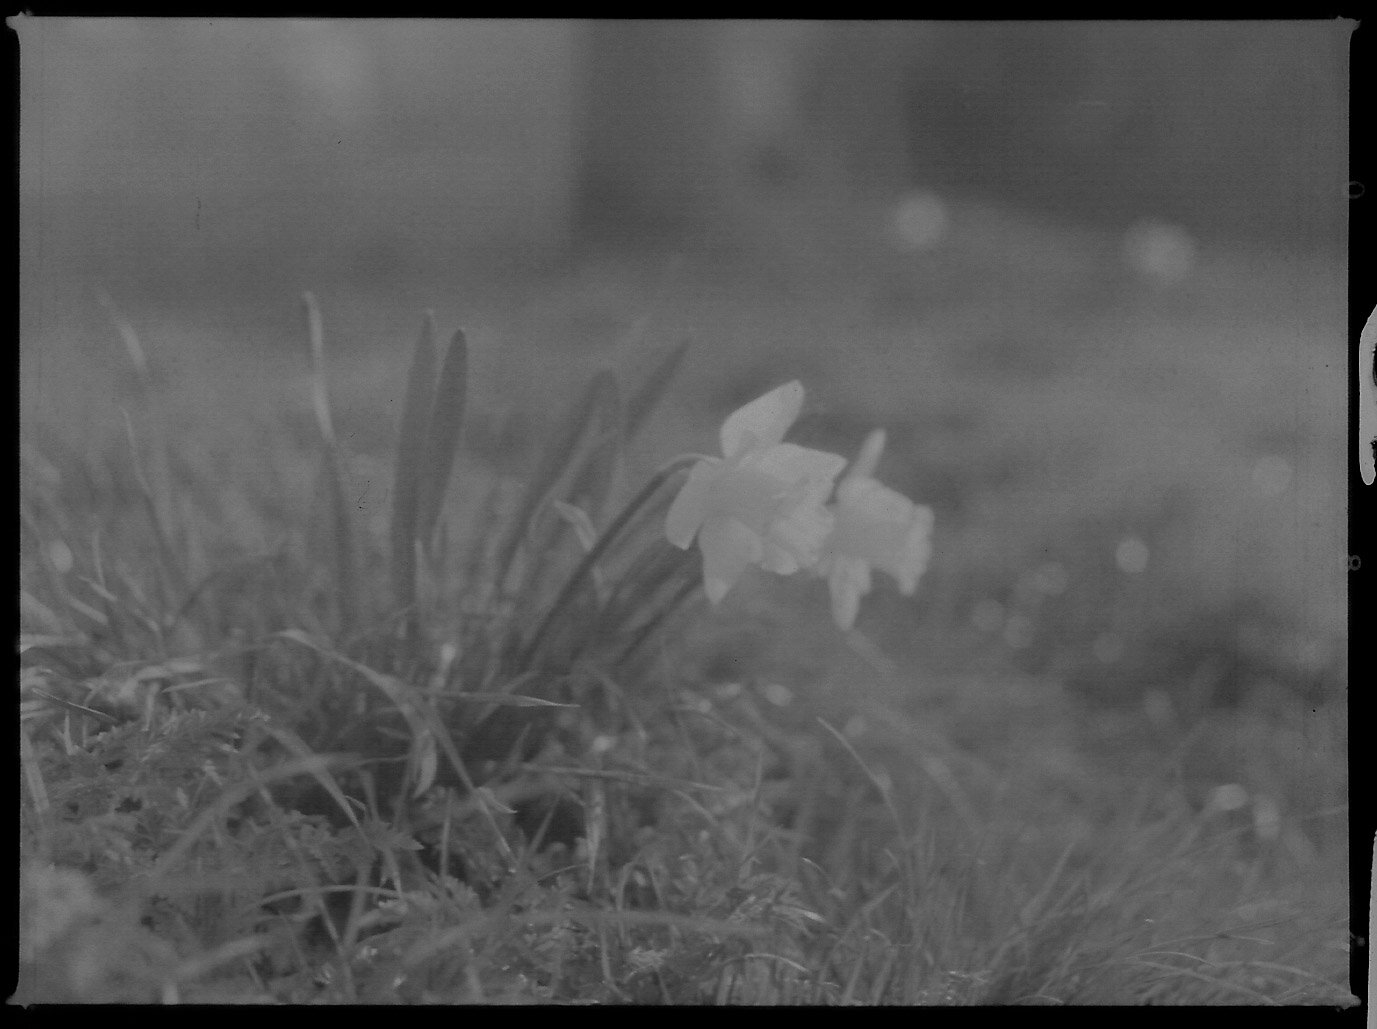
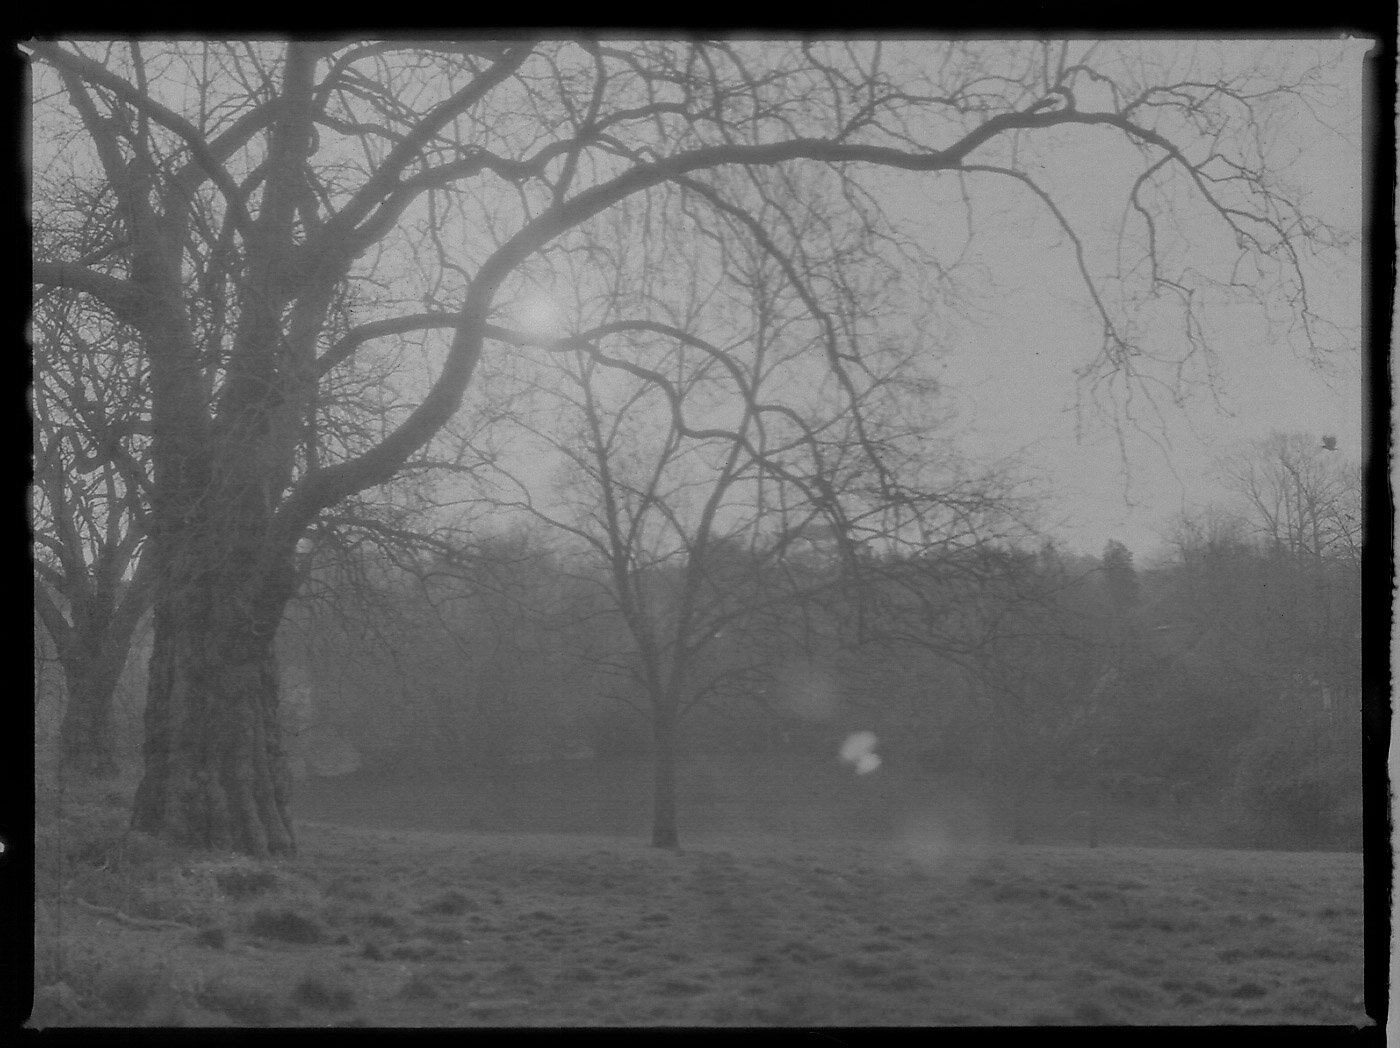
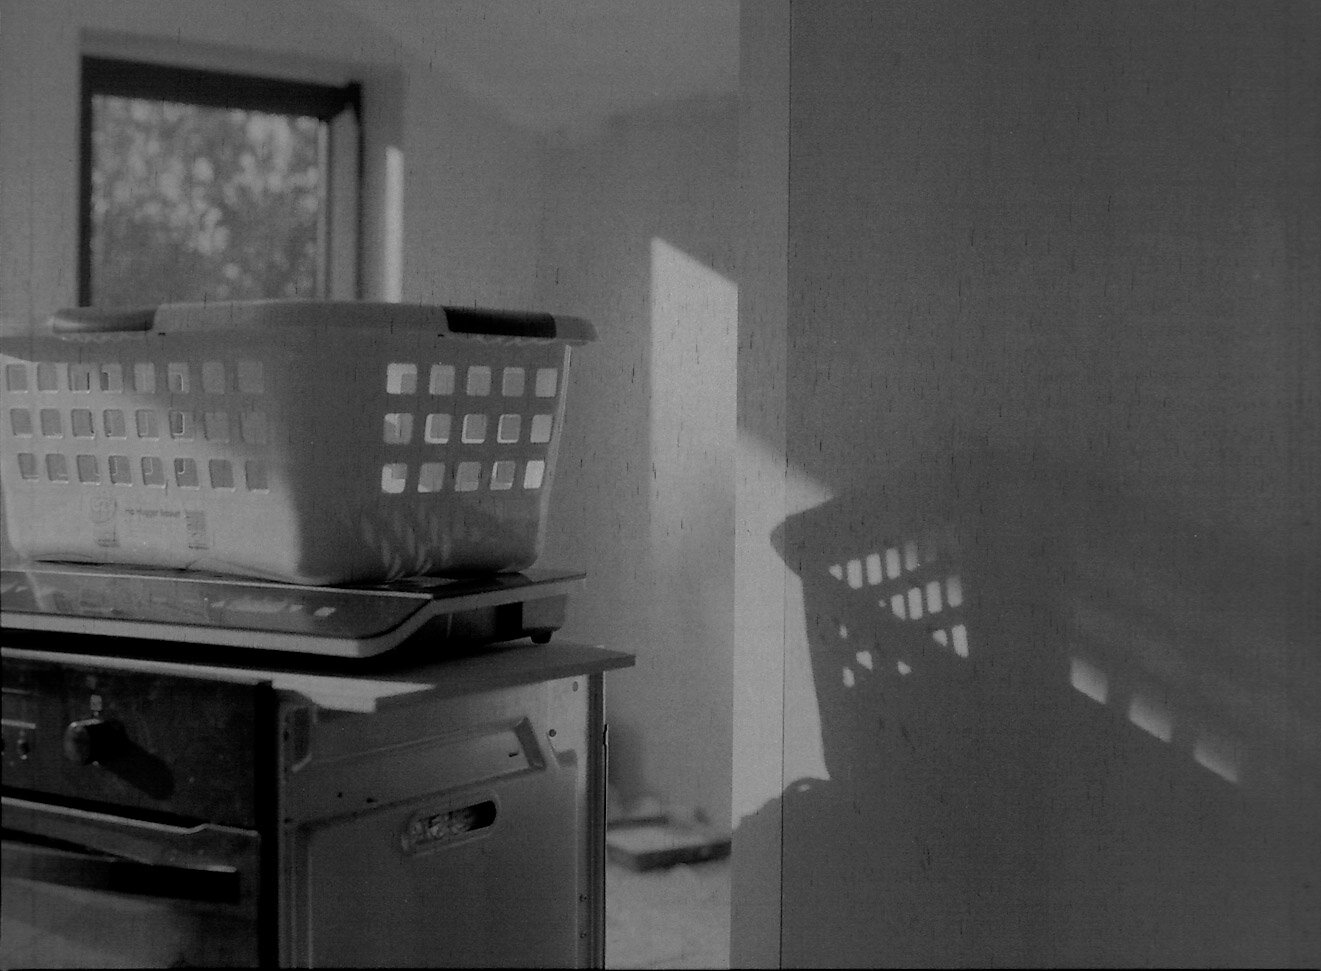
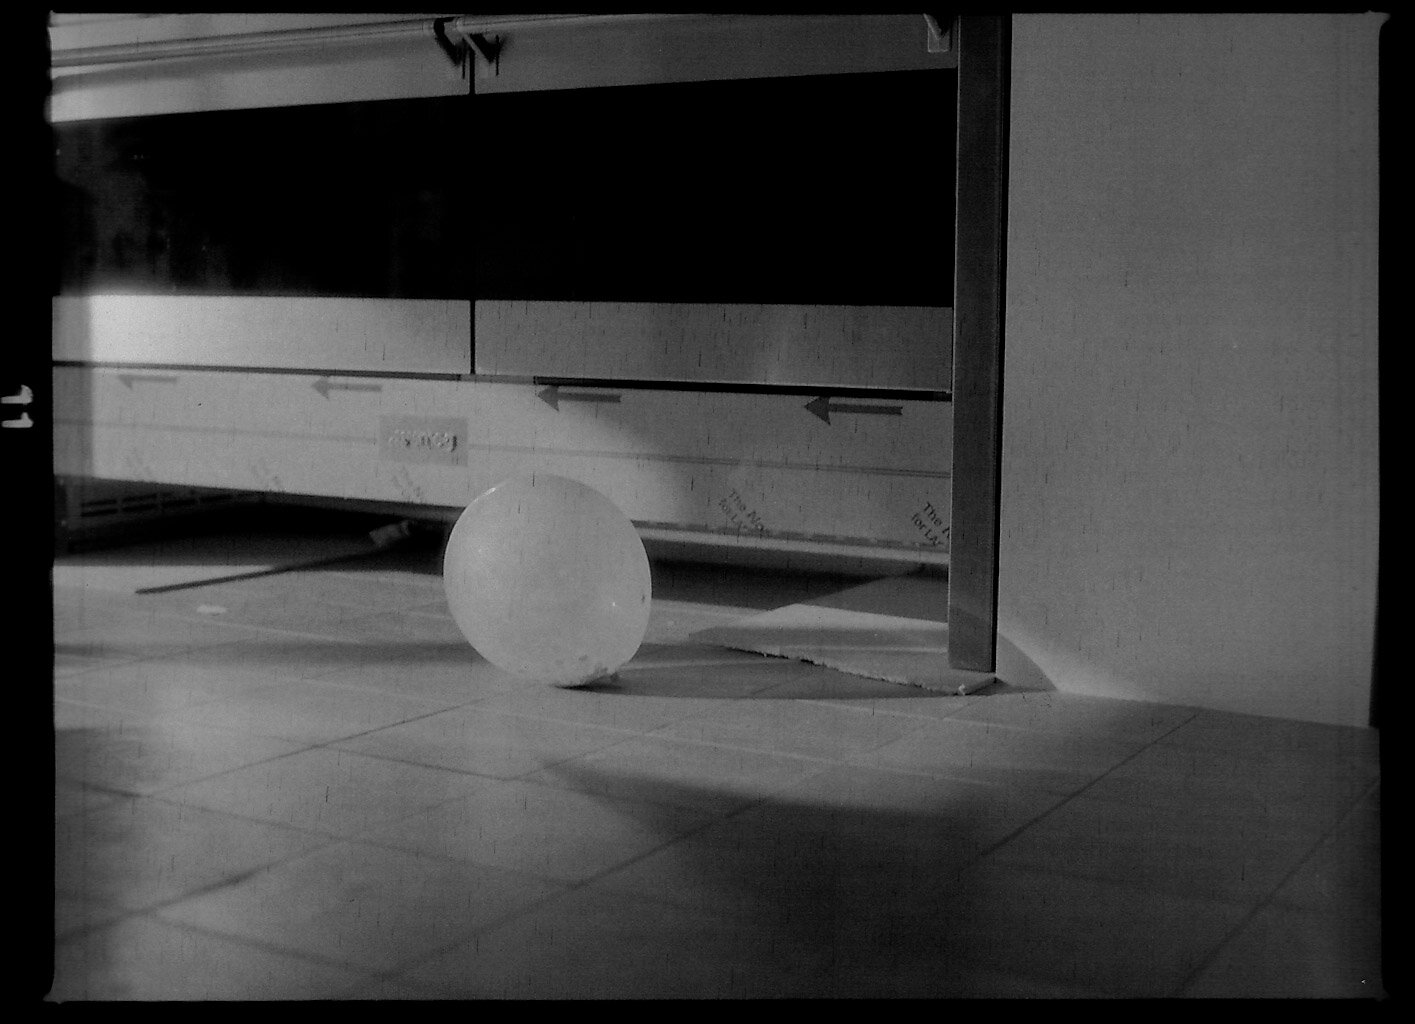
The Results
See the results below. They are my first attempts and I am quite pleased with them.
I need to play more with contrast and increase the development time I think (or maybe just lessen the in-camera exposure), and obviously I’ll play with different film types. I’ve also seen a tutorial on developing with coffee and baking soda, which will make a fun alternative process which also reduces the environmental impact of the chemicals being used. I’d also like to use the techniques with portraiture rather than with random pictures taken in Streatham.
What strikes me the most, though, is that despite the initial outlay on materials, this is a much quicker and cheaper process than going to the shop. It took me about 50 minutes to develop the film (and then a further hour or so scanning the negatives as tiffs and inverting them in Affinity). There’s no question that film photography is a much more expensive hobby than digital but with techniques like this at least the costs can be brought down.
Thanks coronavirus. I owe you one. You don’t have many advantages but you have given me a new angle to my hobby.